Sometimes you just want to connect your Raspberry Pi to your Wifi immediately when you first install RetroPie or Rasbian just so you can tinker with it soon and setup some stuff.
STEP 1. On a Windows PC insert your newly installed SDCard
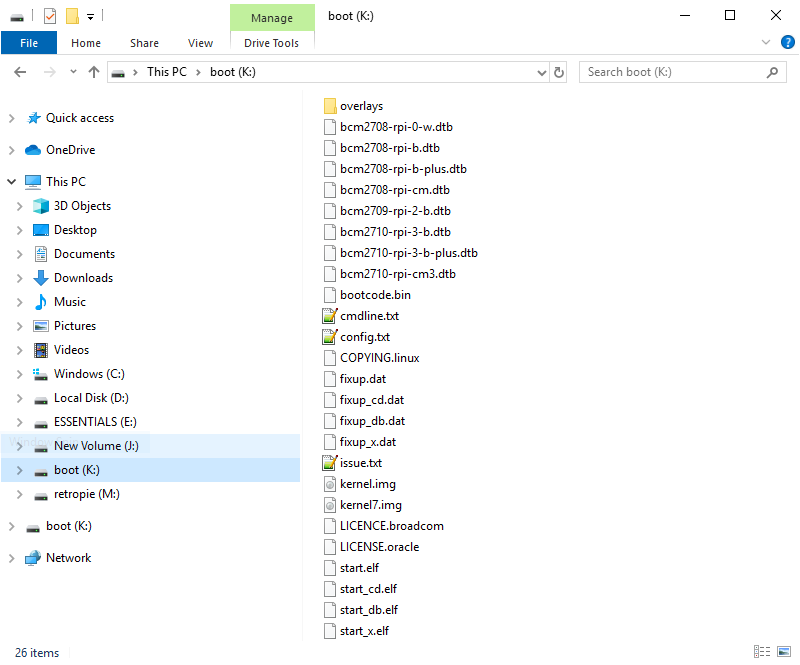
With the sdcard plugged in (USB SDCard reader) your Windows 10 computer, fire up File Explorer and go to the boot partition of your sdcard.

Step 2. Setup Network or WiFi Info
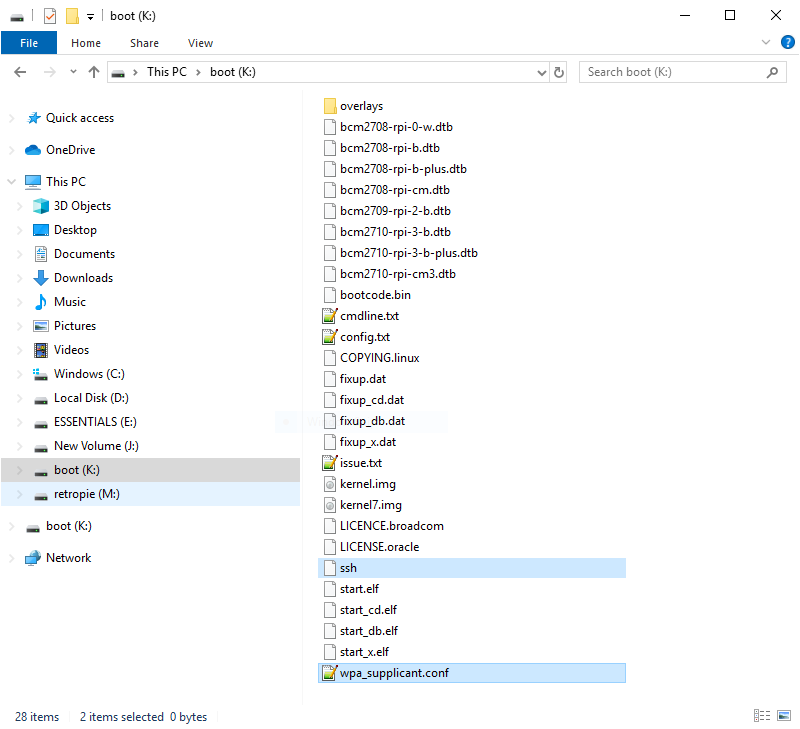
Create a file called wpa_supplicant.conf inside the boot partition of the sdcard. Open it with any text editor like notepad and paste the following.
country=US
ctrl_interface=DIR=/var/run/wpa_supplicant GROUP=netdev
update_config=1

network={
    ssid="WIFI-NAME"
    psk="WIFI-PASSWORD"
}
Replace “WIFI-NAME” and “WIFI-PASSWORD” with your wifi details. Save and exit.
Step 3. Enable SSH
Enable SSH so you can connect to your raspberry pi from any computer. Create a blank file called ssh inside the same boot directory of your sdcard.

Finally, eject the sdcard properly and plug it in to your Raspberry Pi. Turn on your Pi and it should connect to your network automatically.