- Download and install the QMK Toolbox from here.
- Download and unzip two different firmware files.
- Prepare your ADB adapter by entering bootloader mode: with your ADB keyboard attached to the ADB adapter, press and hold the B key while plugging it into your computer. You may release the B key now.
- Run QMK Toolbox. Choose the ATmega16u2 MCU. Click “Open” to browse for the firmware you unzipped. There are two firmware files:
firmware_A.hexandfirmware_B.hex. Choose one, and if it doesn’t work, try the other. - Click the “Flash” button.
Category: Game Boy Zero Controller
Remapping and Configuration Guide for tinkerBOY ADB Keyboard/Mouse to USB Converter
The tinkerBOY ADB USB adapter is built with QMK Firmware and supports VIA for easy real-time remapping and configuration of your classic Apple ADB keyboard, such as the AEK and AEKII.
Start by plugging the ADB adapter, with your keyboard attached, into your computer. You can use any of the following apps. Simply download the .json file for the app you want to use.
- remap-keys.app ( .json )
Click on CUSTOMIZE YOUR KEYBOARD button to connect your keyboard to the app and import the .json file. - usevia.app ( .json )
Under DESIGN tab, load the .json file and connect your keyboard or click on CONFIGURE tab to Authorize device + and connect your keyboard.
Have fun! 🙂
Remapping and Configuration Guide for tinkerBOY M0110 Keyboard To USB Converter
The tinkerBOY M0110 USB adapter is built with QMK Firmware and supports VIA for easy real-time remapping and configuration of your classic Apple Macintosh keyboard, such as the M0110, M0110A, and the M0120 keypad.
Start by plugging the M0110 adapter, with your keyboard attached, into your computer. You can use any of the following apps. Simply download the .json file for the app you want to use.
- remap-keys.app ( .json )
Click on CUSTOMIZE YOUR KEYBOARD button to connect your keyboard to the app and import the .json file. - usevia.app ( .json )
Under DESIGN tab, load the .json file and connect your keyboard or click on CONFIGURE tab to Authorize device + and connect your keyboard.
Have fun! 🙂
Happy Holidays!

It’s been a rough ride this year but I just want to thank you all for your support and looking forward to a more prosperous 2021. Best wishes for a new year of peace and happiness!
Schedule of Shipment
Shipment will resume on December 28-29, 2020 and January 4, 2021.
tinkerBOY DPI Adapter v1.0: Brightness Control
On this guide, I will be showing you how to add brightness control functionality for the tinkerBOY DPI Adapter. You need a tactile button switch for it.
Let’s get started
Wire one pin of the button to the GPIO10 pad on the back of the DPI Adapter and the other to any GND.

On the software side, you just need to download and run a program in the background and just press the button to control the brightness.
Login to your pi via SSH and enter the following command:
wget https://github.com/tinkerBOY-git/RetroPie/releases/download/retropie4.4/pi.sh && sudo bash pi.sh
Now, sudo reboot and you’re done.
You should now be able to control the brightness of you DPI screen by pressing the button.
tinkerBOY DPI Adapter v1.0: Visual Guide for Raspberry Pi 3
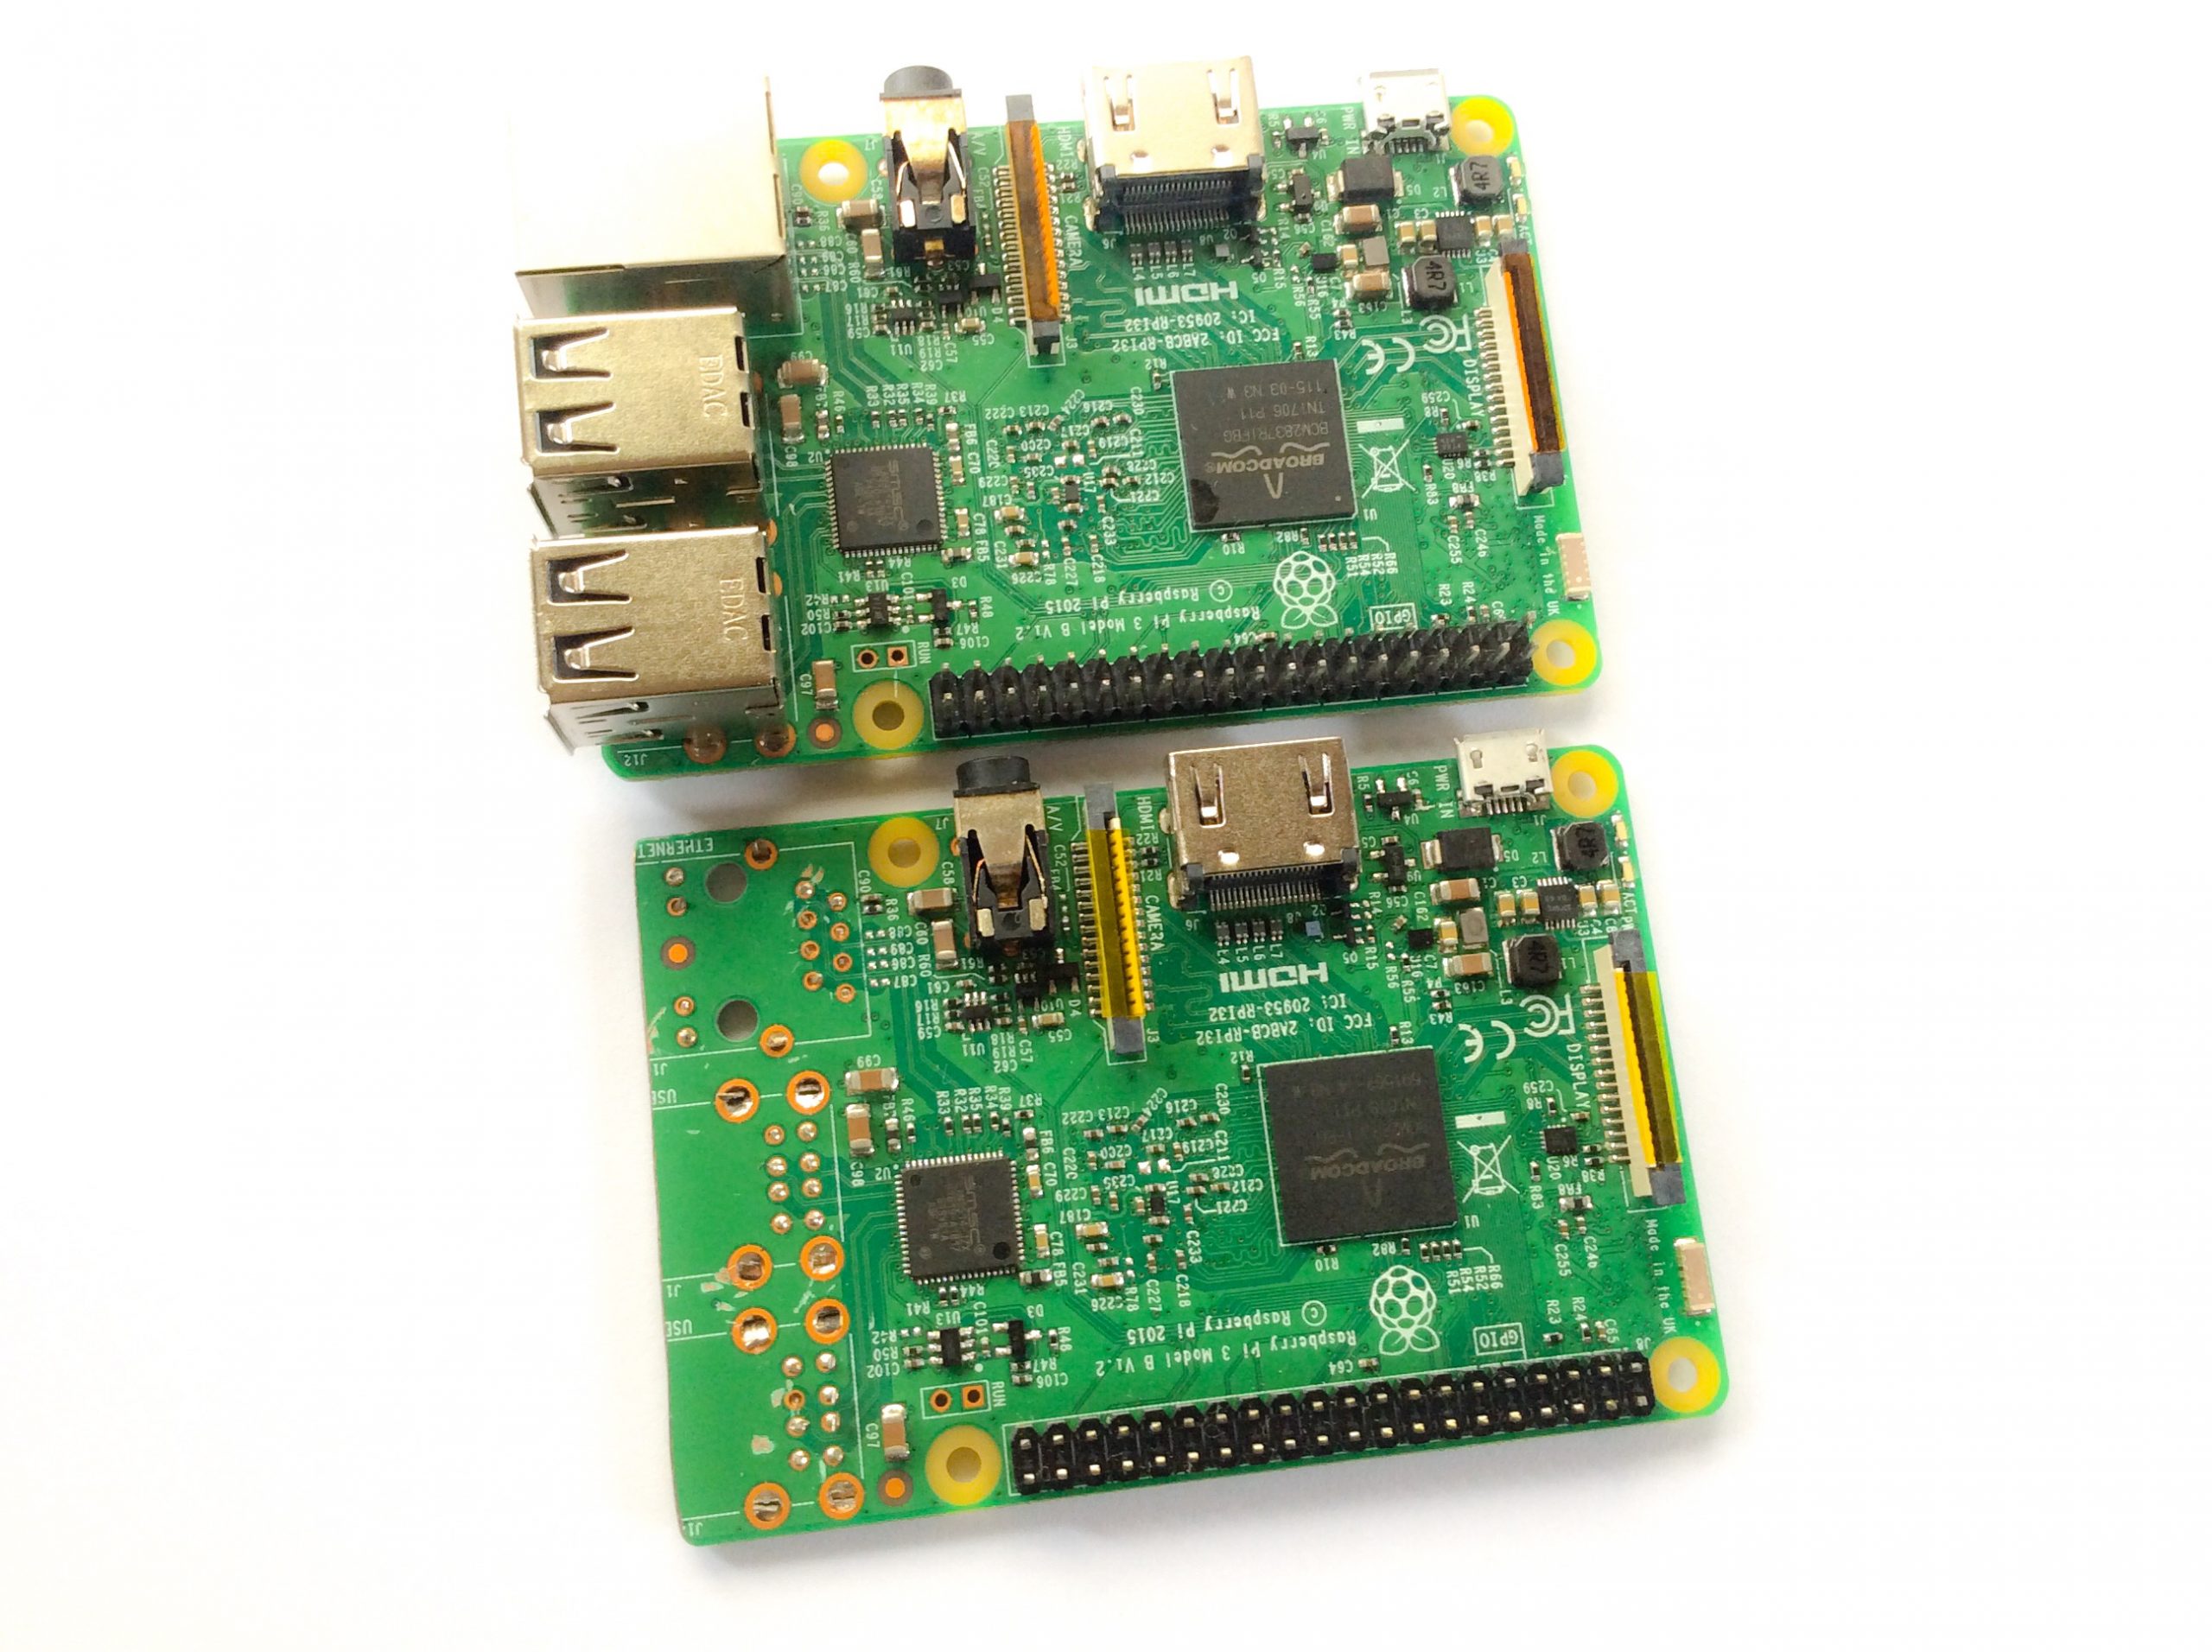
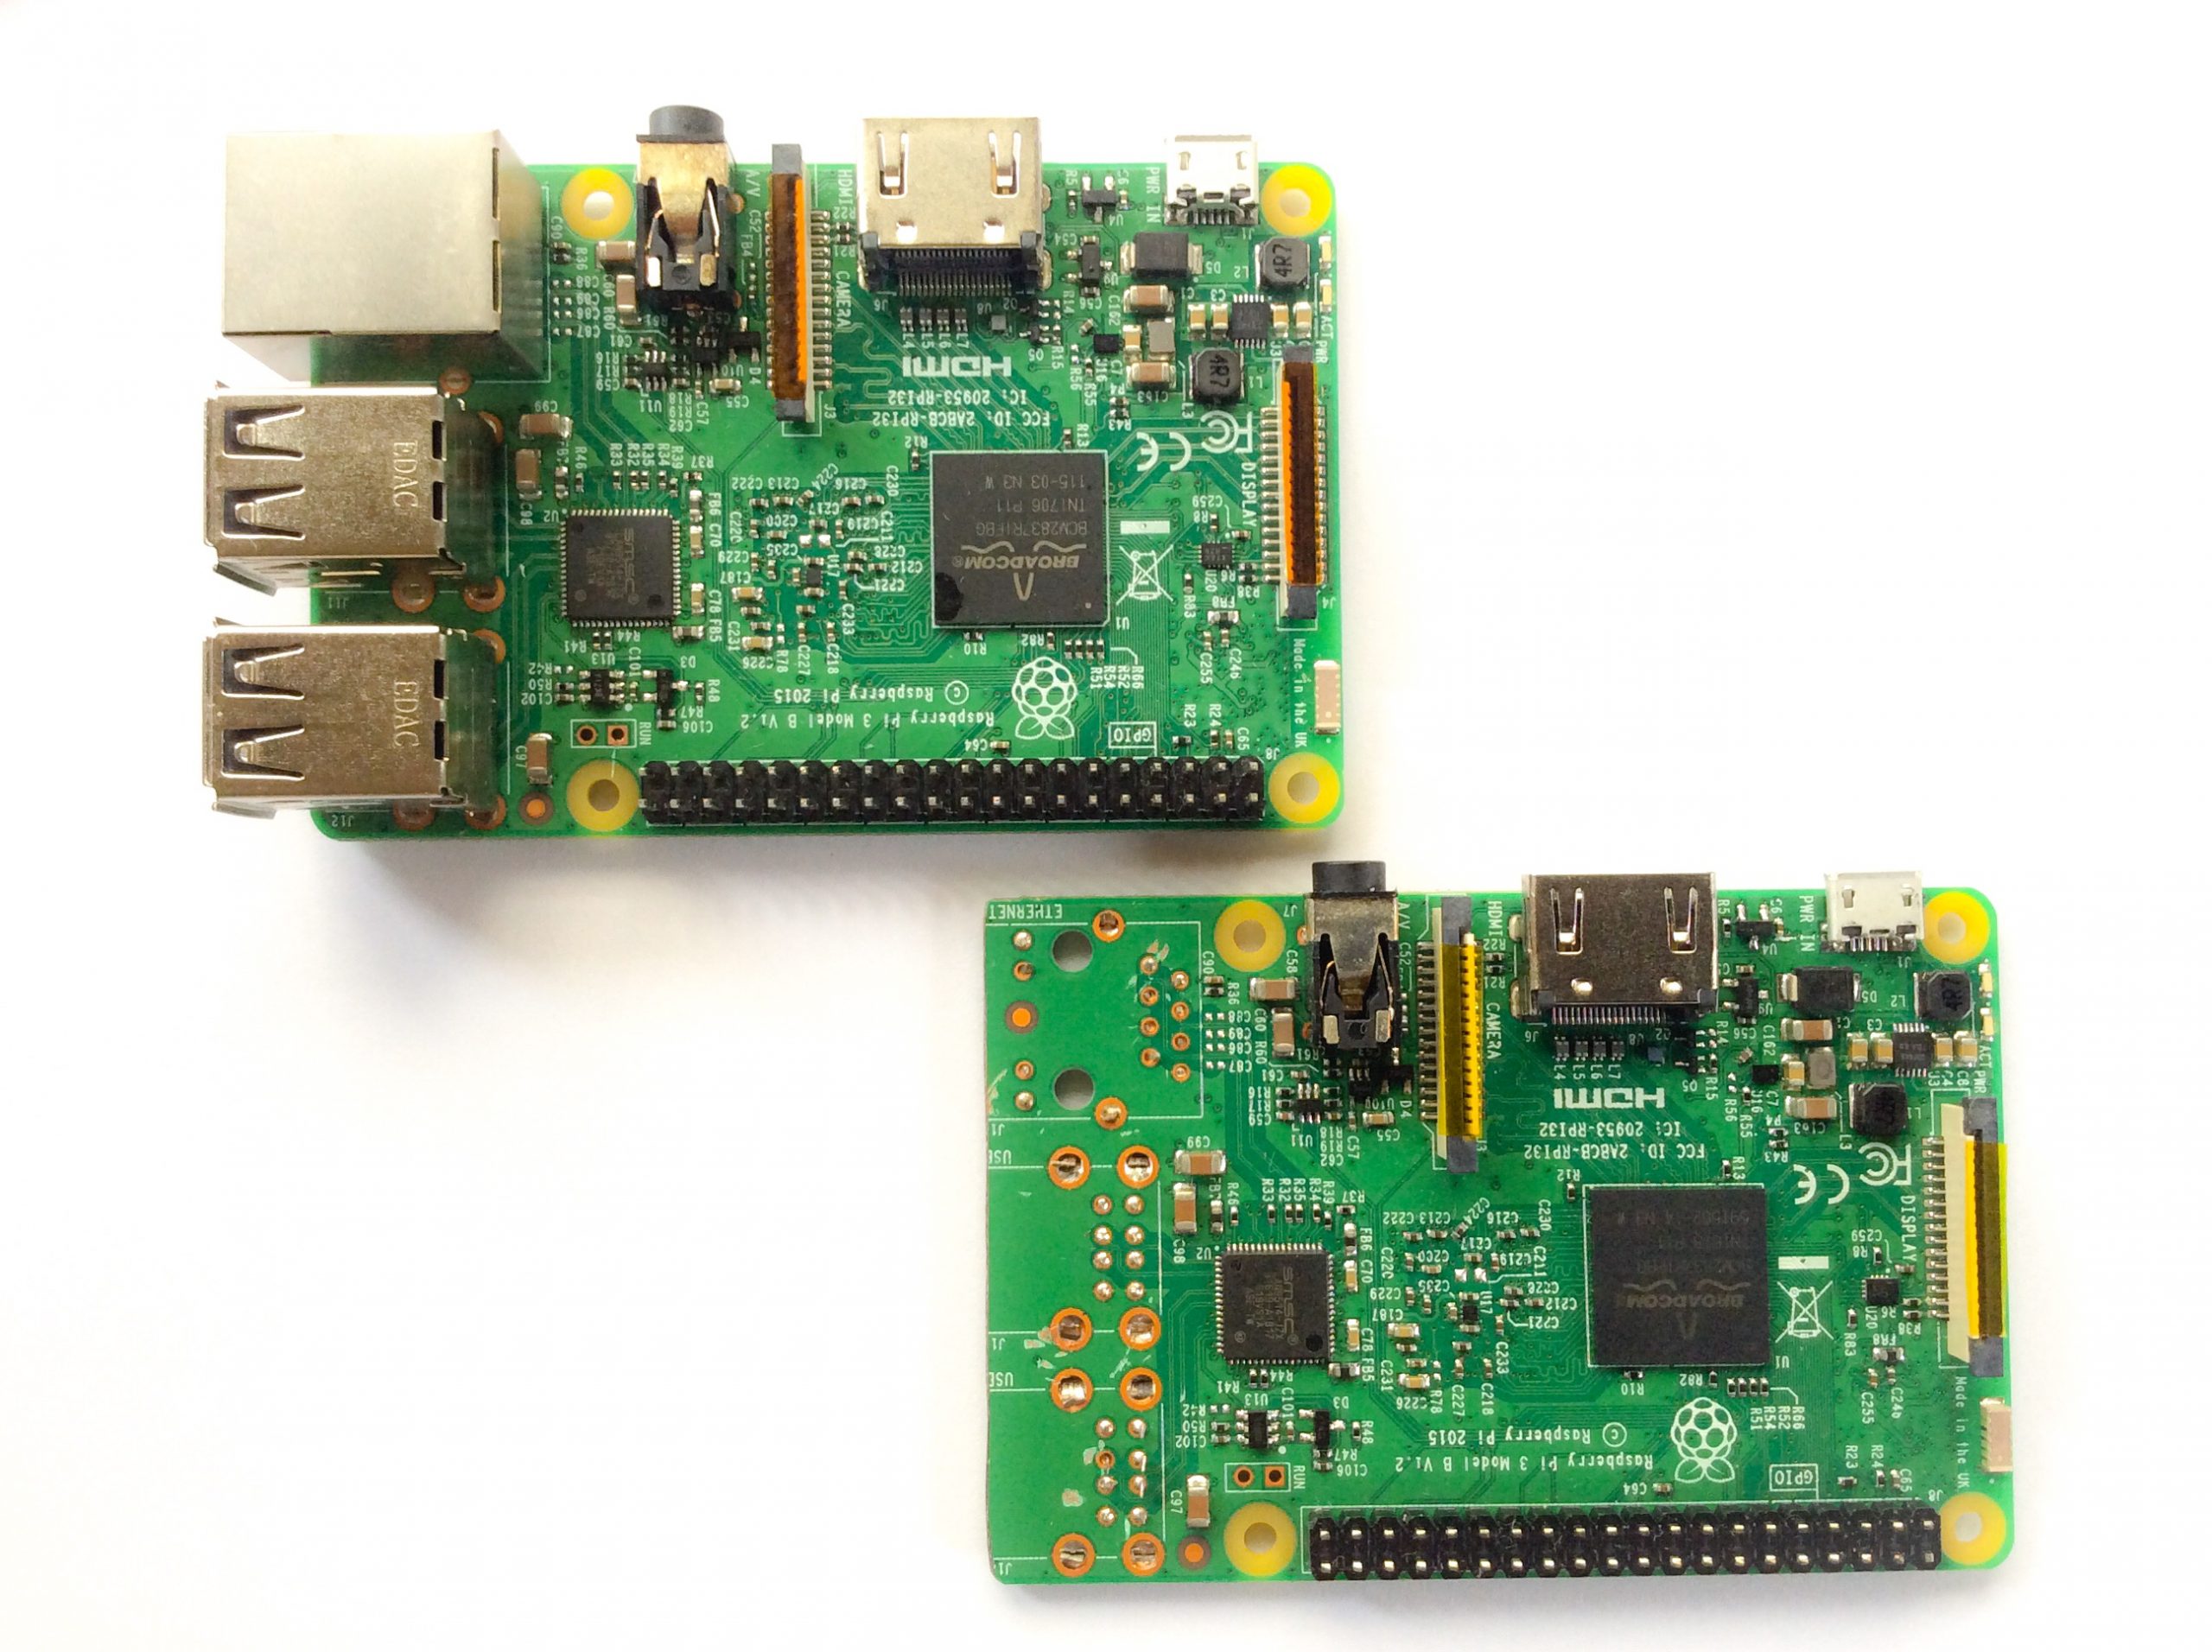
Start by removing the USB ports and ethernet port, cut the header pins, and trim the side of the P1 3 board where you removed the ports.
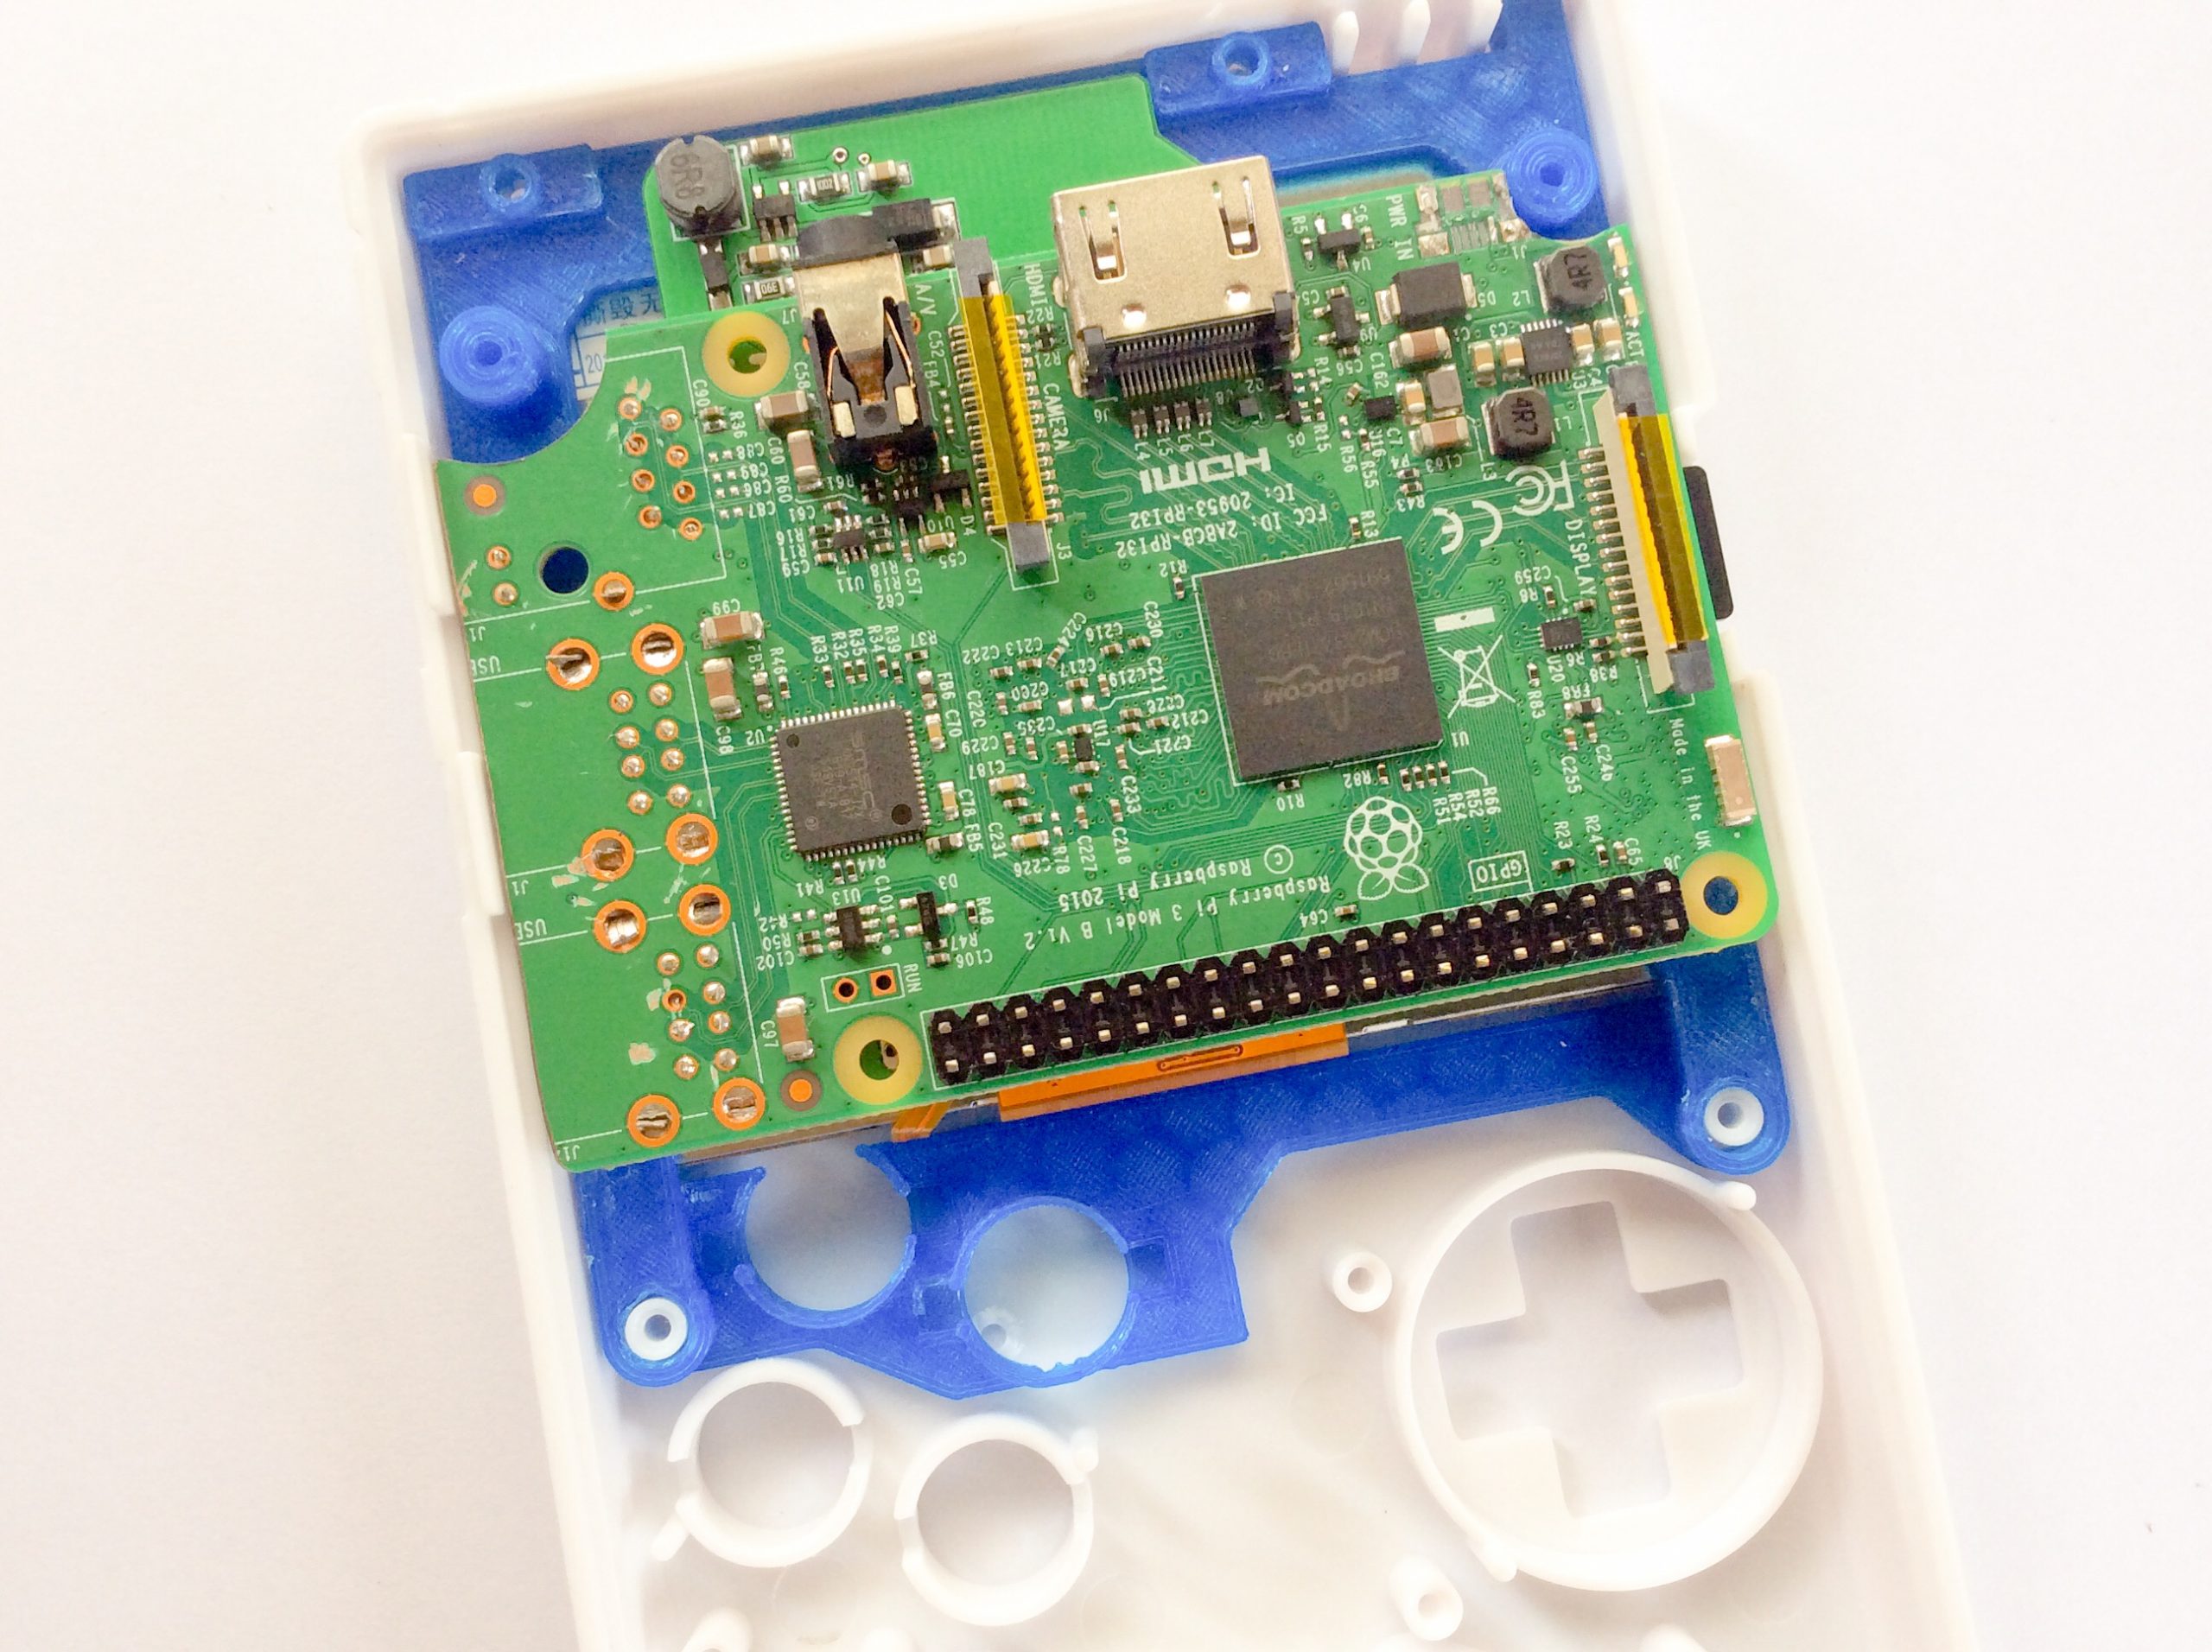
The idea is to mount the Pi 3 inside the Game Boy DMG case so that the sdcard is accessible via the “CONTRAST” area of the case. Use any rotary tool to trim the upper corners to make space for the 3d printed bracket’s top screw posts so you can easily mount it later inside the case.

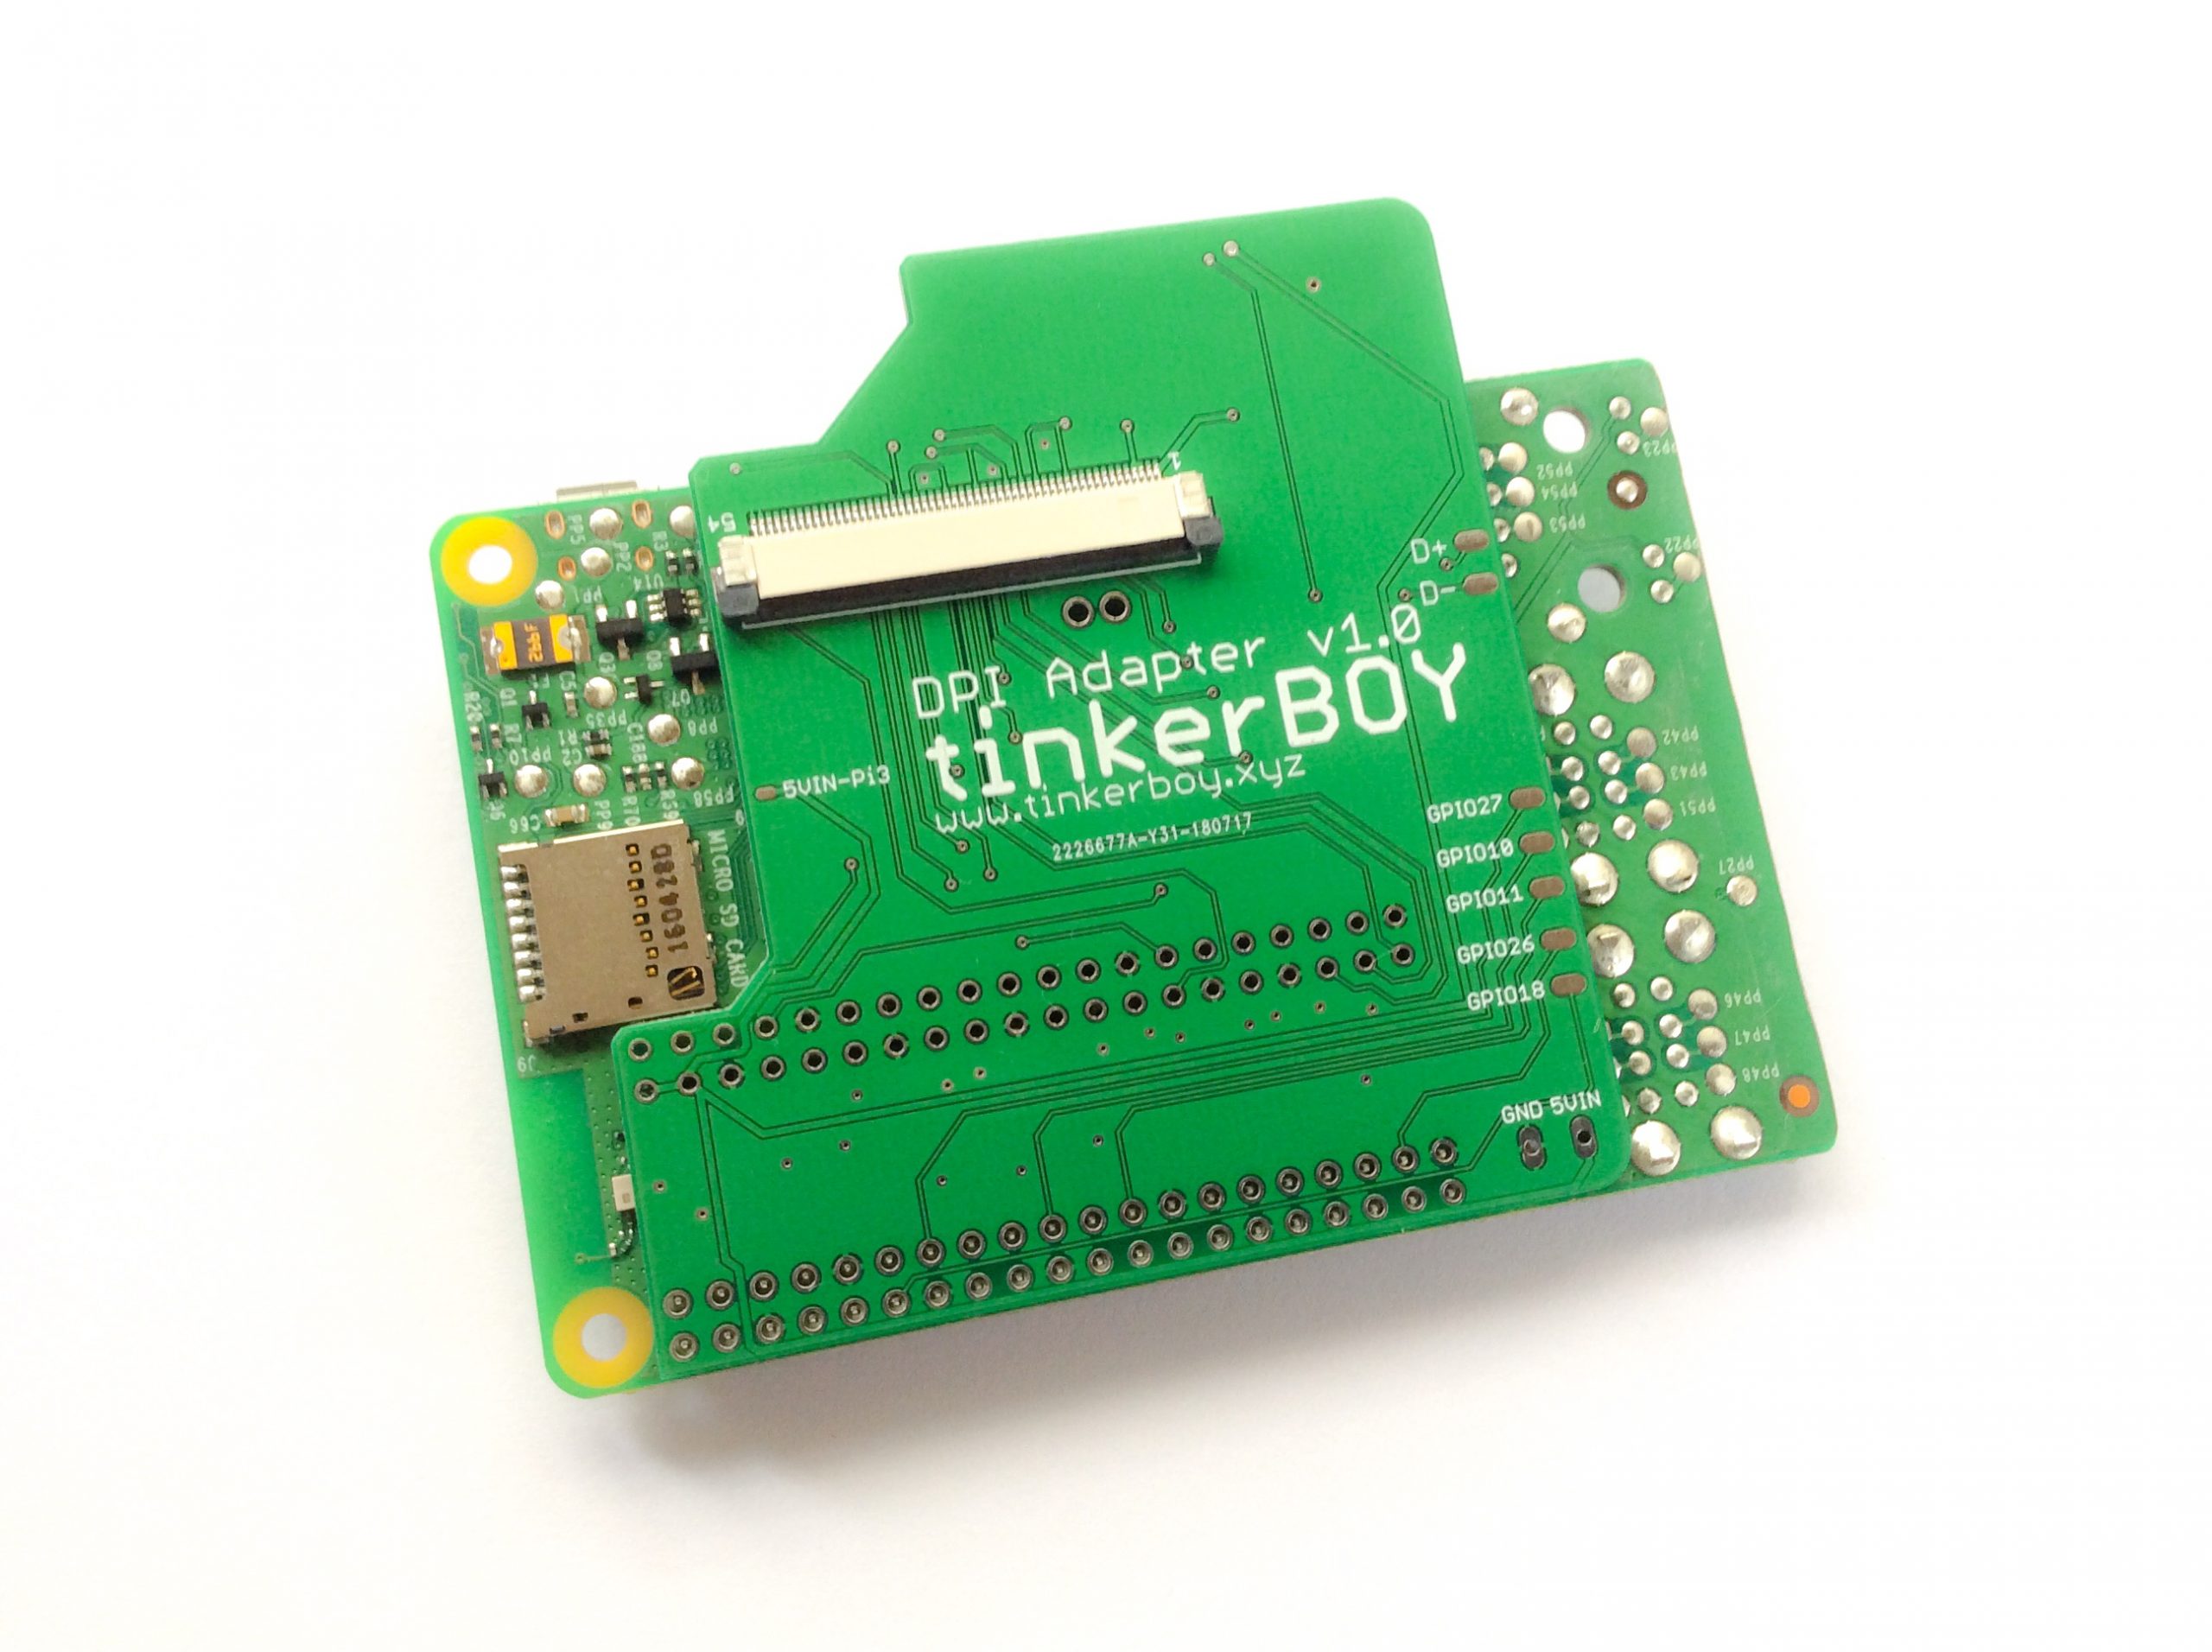
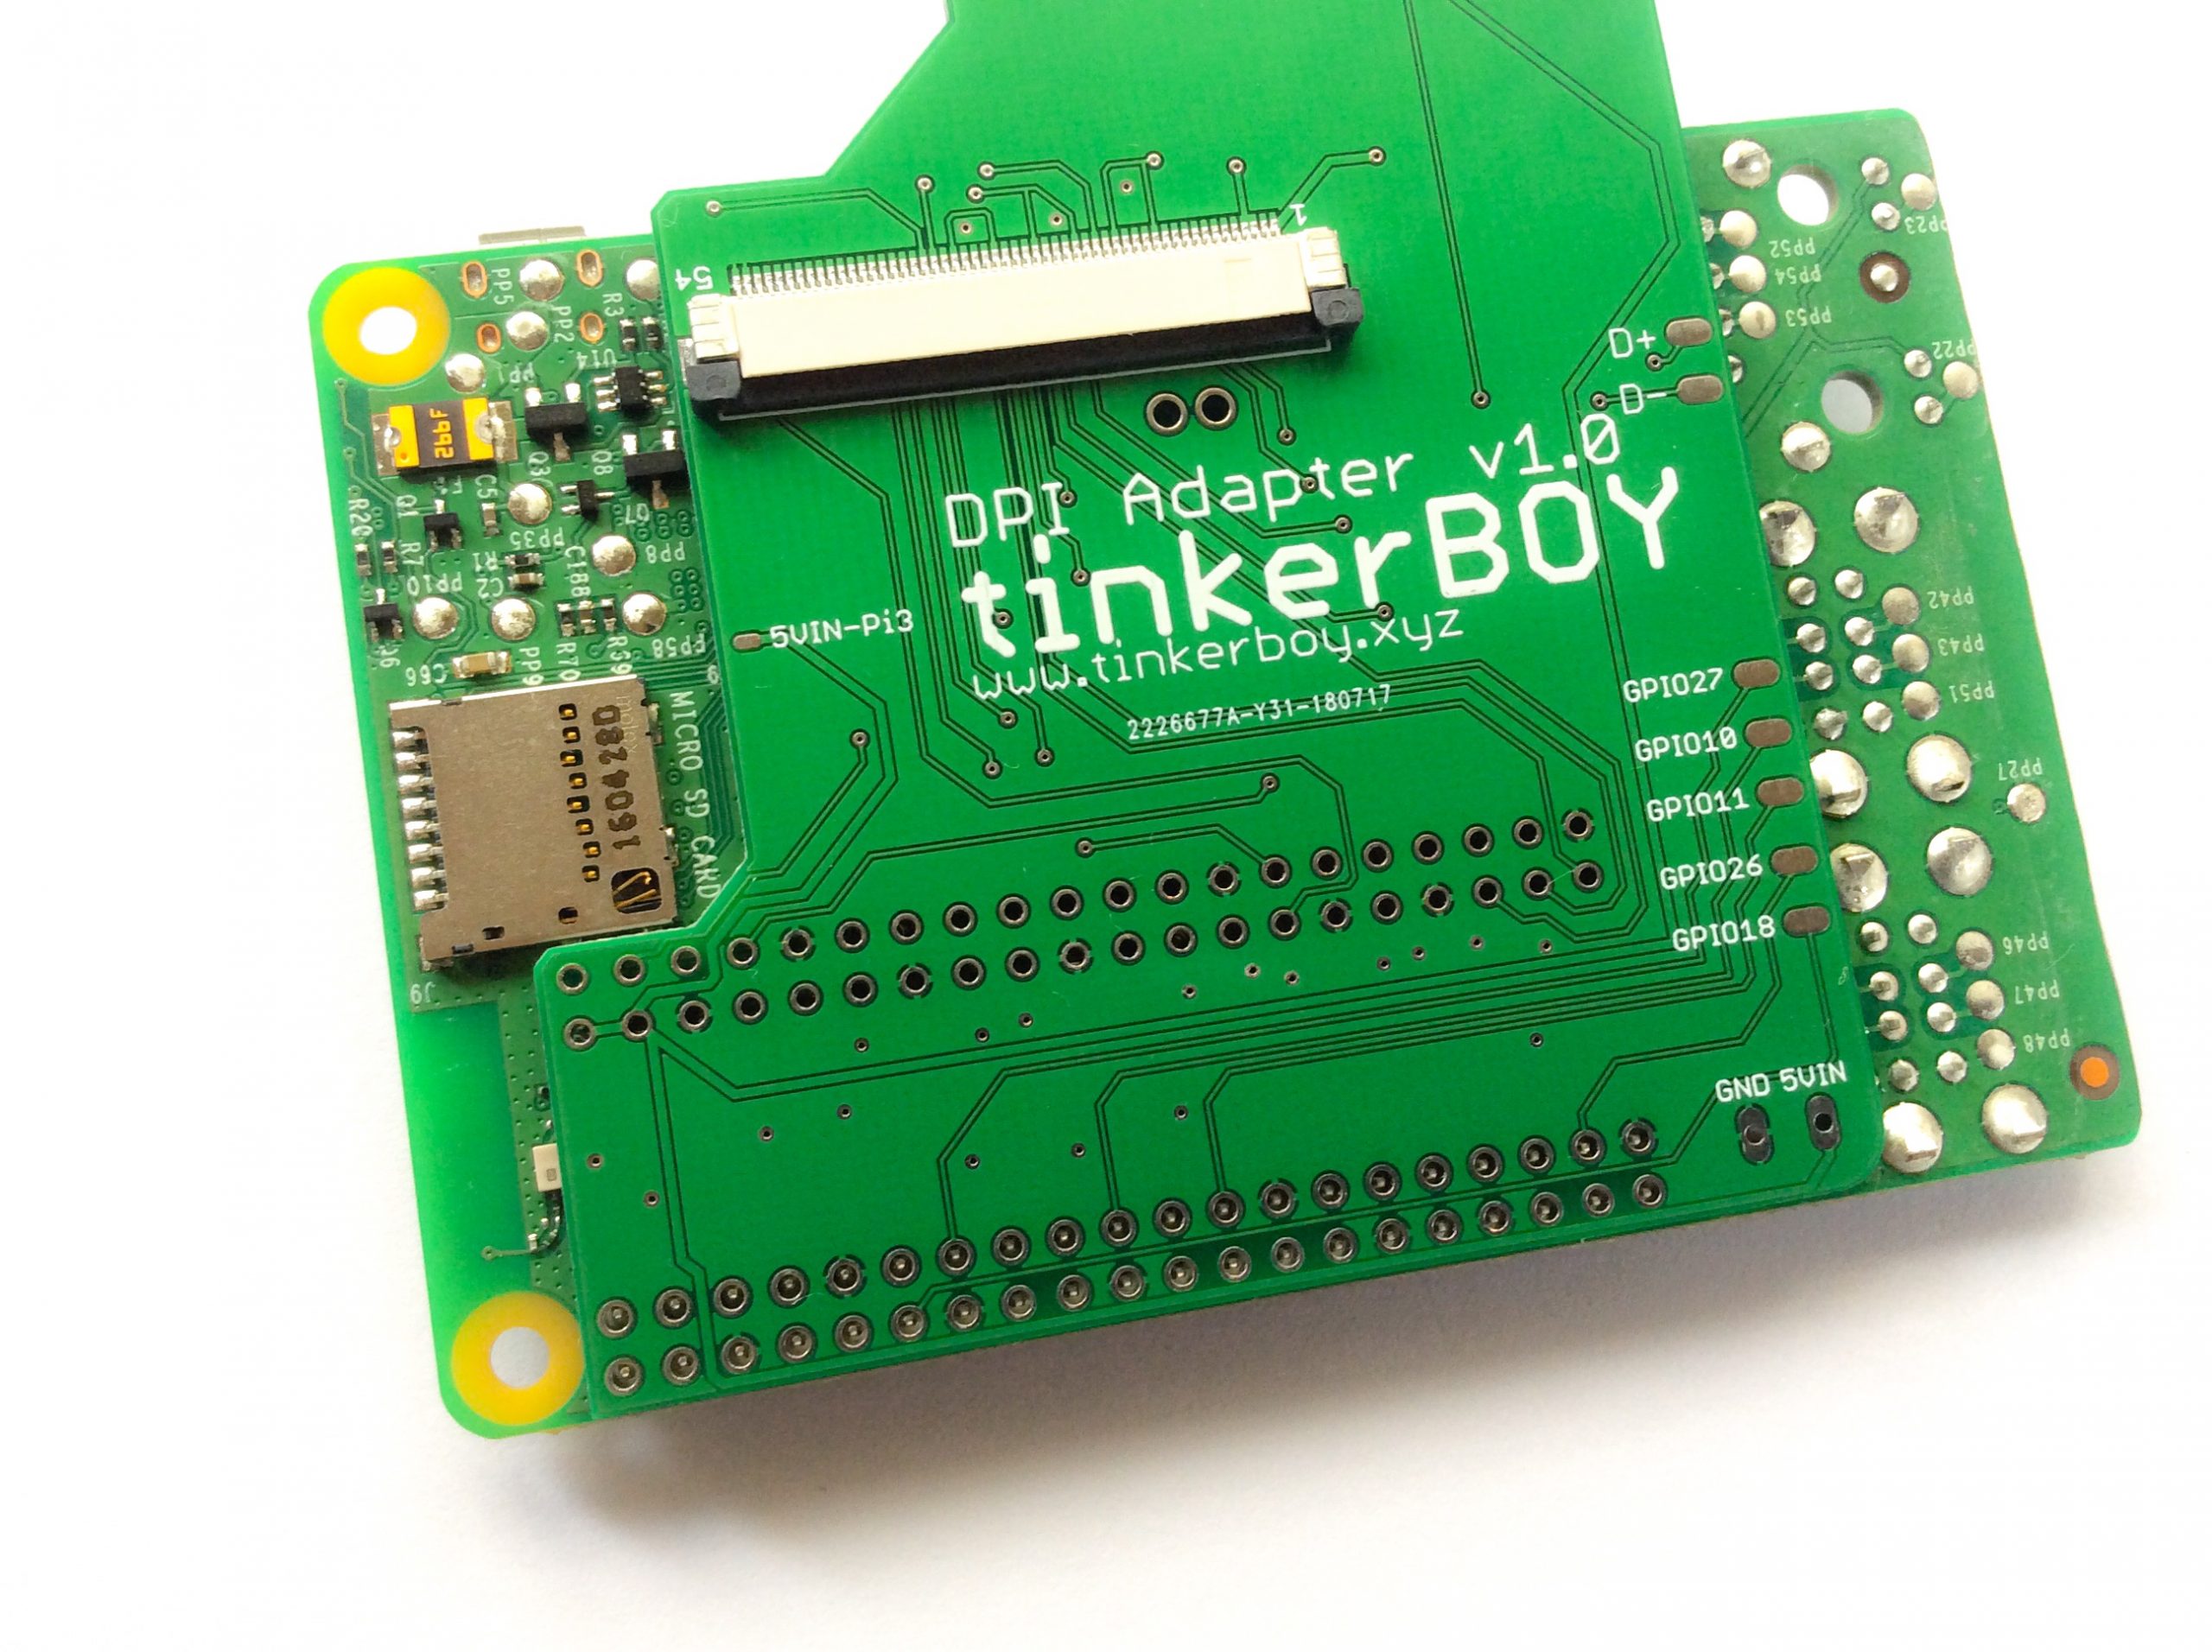
Before joining the adapter and Pi 3 together make sure you put any protection like kapton tape in between to avoid shorts. Solder the pin holes from the adapter where the bottom GPIO pins of the Pi 3 are located. Unlike the Pi Zero which can be powered directly from the GPIO pins, the Pi 3 is protected by a fuse so it’s recommended to power it via the PP2(5v+) and PP5(GND) pin. Here’s how you do it.
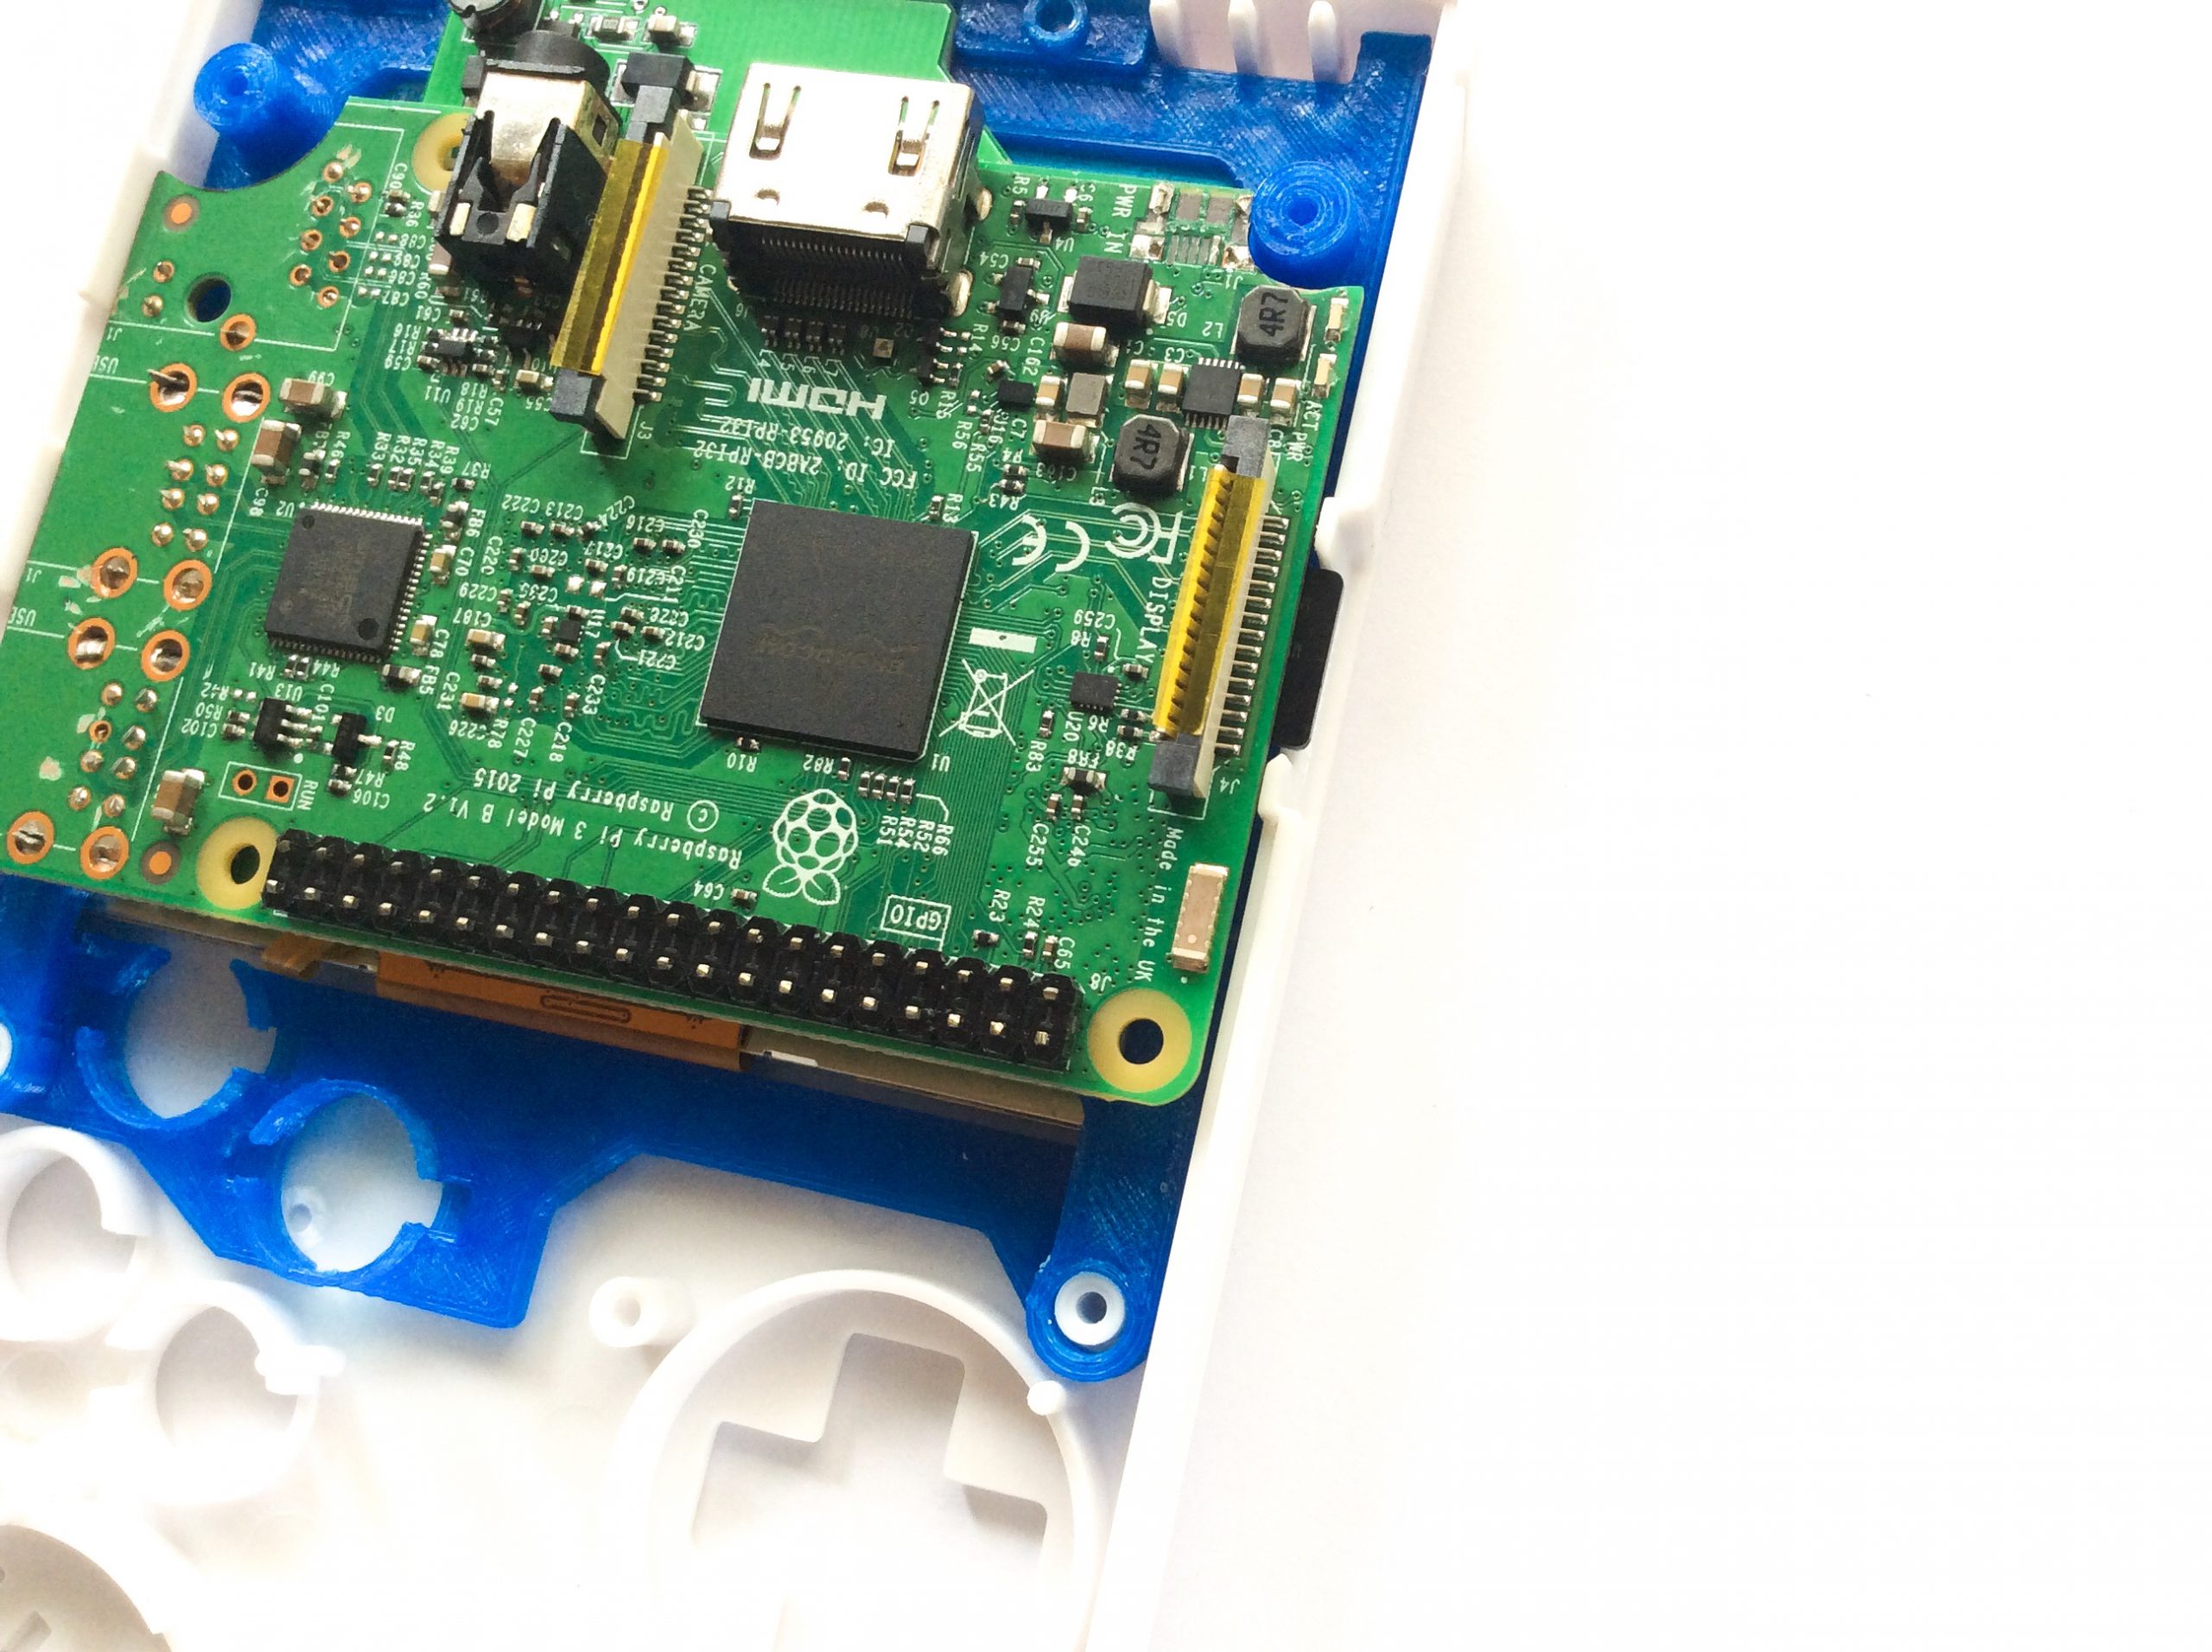
This how it looks inside the Game Boy DMG case:
The 5VIN and GND pin holes below the tinkerBOY DPI Adapter are your 5v and GND inputs.
How To Wire The Micro USB 4-Wire Data Cable
Connecting the Micro USB 4-Wire Data Cable to the Pi is pretty straightforward.
- Black wire connects to any GND pad.
- Red wire connects to any 5V pad.
- Green wire connects to the D+ USB pad.
- White wire connects to the D- USB pad.

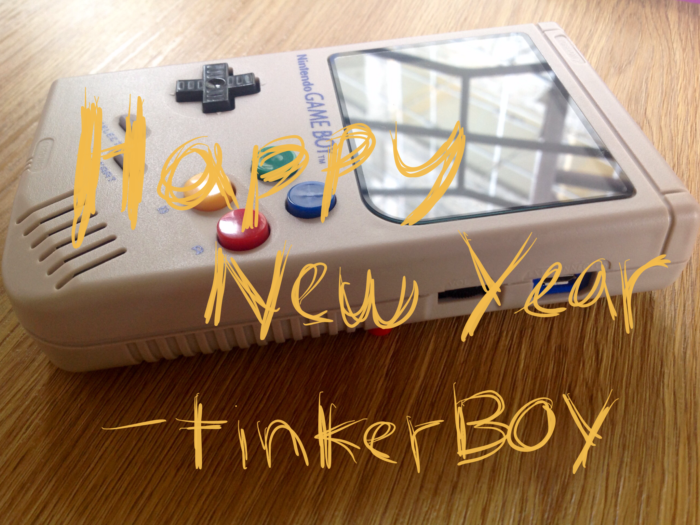
Happy New Year!
